Wednesday, May 22, 2013

What in the Wide World of Sports Is A Goin' On Here?

Those of you who know me, know that I can be a bit of a practical joker.  Well the last one bit me in the hind quarters.  Suffice it to say that a crank call to an old friend and colleague resulted in a job offer that I could not refuse.  So on May 6th I came out of retirement and went back to work, with a "very flexible" schedule.


In a previous post I mentioned I was able to get the dye stain on the king size bed before leaving town.  After being gone for two weeks I returned to the shop to apply the brown mahogany stain.  I applied said stain, allowed it to sit and then wipe off the excess, as per the instructions.  Much to my dismay it looked nothing like the sample board made with the exact same dye and stain.  It had a much redder appearance.  See post title for the family friendly version of my reaction.  I spent the next 2 1/2 hours with a maroon pad and water (water based stain) stripping off the newly applied stain.  

It was upon the completion of the aforementioned stripping I swore (and I mean I swore) off all woodworking except for building chairs.  It was obvious to my wonderful wife that I was in need of an intervention.  She quickly appeared at the shop door with an icy cold Land Shark and talked me off the the headboard ledge.  Two days later, an appropriate cooling off period and time to allow everything to dry completely, I was ready to attack staining again.

  
This time I stained a small area and immediately wiped off the excess.  The results were so close to the sample I deemed it a success.  After allowing the stain to dry for 24 hours, it has been quite humid here in Kentucky, I sealed it with wax free shellac.  Later today or tomorrow, I will go over the entire piece with a very fine pad and apply a thin coat of satin poly.  I did this with the sample board and the results were a semi-gloss sheen that Carol and I like.

I did say a few weeks back that the subjects of future posts might be a bit different.  Working out of town quite a bit will keep me away from my shop more than I would like.  After many a conversation with my brother-in-law Rick, I offered to help him finish setting up his shop in the evening after work.  As a result, I will have access to a "Satellite Shop" while I am away from home.  Rick is a very talented individual and artist who is not afraid to try anything.  I look forward to working in Rick's shop.  A hint of what the future may hold is pictured below.  By the way this is the result of one of those conversations.


~ Ray Schwanenberger

Friday, May 3, 2013

Method of Work

While I am away from the shop I have been thinking about the most efficient way of working when building case goods, beds, and things other than chairs. With Windsor chairs my process is pretty straight forward. Split the log, work the spindles to an octagon shape, shape the arm and bow (if building a Sack Back) and bend in the forms, then set to dry. Leg and stretcher billets are turned out of stock that was split and turned round to dry. While all parts dry, I carve the seat, and so on.

However, with things other than chairs, I usually put on paper my little sketch with some dimensions and into the shop I go. Man do I save time on the front end! I choose my material and I begin. I get the framework of the piece built and then build the details in accordance to what the newly constructed frame work calls for. Sounds fairly easy and straight forward does it not? Suffice it to say, things are not as they seem in my somewhat wonky mind.

With this method, I end up doing so many different machine set-ups it is unbelievable. As you can imagine this can result in minuscule discrepancies in measurement accuracy, which in turn leads to woodworker frustration, and results in me writing this blog post.

I have sought professional help for this malady and here is the advice I have received, as I heard it. Start with as accurate of a drawing as possible. Time to learn Sketch-Up! Develop a cut list, to prove the piece can be built and to purchase material. Take time and think about how to efficiently break down the material with minimal machine set-ups. THEN begin building! Build the carcass, dispose of the cut list, and finish with the remaining parts.

I hope I understand the advice I have been given but more importantly I must fight the urge to skip the prep work. I wonder if there is a support group out there?

Thursday, May 2, 2013

A Great Cause and Working At New Heights


Allow me tell you about a very good thing I was made aware of the other day.  It is a project being put together by woodworker and blogger Sam Cappo.  Sam is putting together a user set of tools, building a tool chest and then giving it all away to a deserving woodworker.  If you have any extra tools, please consider donating.  To view a list of sought after tools and all the details of this project go to Sam's blog, PlaneDetails.com


Yes this is a first, building furniture from a ladder.  I needed to let in the bed rail hardware and this was the easiest way to accomplish said task.  These rails are 82 1/2" long and there was just no other good way, that I could think of, to balance my palm router. Thank goodness it is hidden.


Because the first coat of the stain is a water based dye stain and I had done some sanding, I needed to raise the grain prior to dying/staining.  After the wood had dried I discovered these little spots.  They looked like rust spots.  I can only assume they are the result of water mixing with some type of mineral in the wood.

After I knocked the fuzz off with 320 grit paper they disappeared, and did not reappear with the first coat of dye stain.


Here is a look after the first coat.  I used General Finishes Light Brown Dye Stain for the first coat.  I will follow that with GF Brown Mahogany pigment stain.  This will obscure the grain to some degree but it will allow me to even out the color and hide some of the mineral stains that are within the wood.

Due to my schedule it will be a couple of weeks before I will be able to apply the second coat and top coat to finish this project.  Before I move this monster into our bedroom I will get some studio pics taken of it along with the Continuous Arm Windsor.

My next project and blog subject is going to be a bit different so stay tuned.

~ Ray Schwanenberger

Monday, April 29, 2013

Projects In The Works

I heard from a friend the other day wondering if I was still blogging about my chair making and woodworking.  Yes I am, but obviously I am not doing a very good job of it.  I get so involved in the project at hand that I totally space out on making posts about it.  So this is to catch-up on what I have been doing.


My wife and I agreed we wanted to try a different color milk paint on the Continuous Arm Windsor.  This also afforded me the opportunity to try General Finishes Milk Paint for the first time.  I am doing a two color painting, still going for a mottled look, similar to the black over red I have used on my other chairs.  The first coat, pictured above, is Federal Blue.  This will be covered with a darker Coastal Blue wash coat.  Because I am using two shades of blue, I doubt the mottled appearance will be as dramatic as the black over red.  I will post more pictures in my next post (it won't be in a month I promise) along with my thoughts on the GF milk paint. 


One of the projects on my "Honey-Do-List" is a proper bed frame for our new Sleep Number Bed.  The material is from an Ash tree that had been blown over when a tropical storm had come through our area a few years back.  The tree yielded just shy of 1000 bd. ft. of beautiful material.  This tree has provided the material for my bench, shave horse, a Welsh Stick Chair and now the king size bed and two night stands, yet to be started.  It will be interesting to see just how much furniture I will be able to make from just this one tree.


The two pictures above are the dry fitting and glue-up of the head and foot board.  I did not have material wide enough for the panels so I re-sawed the material then did the glue up.  I wanted to have an interesting, but not overwhelming, flow of the grain pattern from one panel to the next.

The glue up is almost complete.  All that is left to do is install the top boards and prep the side boards for hardware.  Then I will do one last dry fit/assembly to ensure everything is copacetic before applying the finish.  By the way Ash is a heavy wood and it is going to be an adventure getting this headboard upstairs.  Ready the ibuprofen! 

~ Ray Schwanenberger

Tuesday, March 26, 2013

Chairmaker's Mecca

For many of us who make Windsor chairs, Jonesborough Tennessee is a Mecca. Not because there is a treasure trove of antique Windsors, but because there is a treasure in Curtis Buchanan. This very unassuming and humble man has drawn many a Chairmaker, novice and experienced, to this beautiful little hamlet in the mountains of East Tennessee.

Down the gravel path, past his garden, is where the magic happens. This is where I am spending my week, learning from the man I consider to be the best. I will be writing more detailed posts on the class and my experiences during my time with Curtis, so stay tuned.


Wednesday, March 20, 2013

Happy St. Sharpening Day


Yes it is sharpening day in the shop, in preparation for class next week.  While no one likes to sharpen, it is an evil necessity.  While I was trudging along I began to wonder how others sharpen and what systems they might use.


I recently checked where the blog is being read and it amazed me that so many people from all over the world have been giving it a look, Vietnam, really?  So what sharpening system/s do you use?  If you would be so kind as to leave a brief comment, here on the blog, about the system/s you use and why it works best for you, I would be curious to see the different opinions.

~ Ray Schwanenberger

Friday, March 15, 2013

The Leather Attache' And A Road Trip

Lets talk leather first.  Yes I was able to snap a shot of the Jedi Leather Master (JLM) Ty Black, who brought by the prototype of the Leather Attache'  and I must say it is sweet!  This is not your ordinary run of the mill leather tool roll.  Ty really put some thought into the design of this piece. 


When the flap is folded back and the Attache' is draped over a board as pictured below, accessing the tools is extremely easy.  As you can see it is very easy to determine what tool is where with this design.  When the Attache' is laid flat the blades of the tools are completely concealed between the alternating pockets on the opposite side, providing maximum protection.

This Crazy Horse leather is so very nice.  Ty crafted the 12 pockets to nicely fit my chisels,carving tools, and even my new Galbert 6 degree reamer.  This will make traveling with these essential tools easy and worry free.

Now for the latest road trip.  On Monday I made the four hour trek to the shop of Tennessee Windsor Chairmaker Greg Pennington.  I left my northern Kentucky home, in the Eastern Time Zone, at 5:00 AM to arrive at Greg's shop in Hendersonville, by 9:00 AM.  About half way to Louisville I remembered that Greg lives in the Central Time Zone, insert V8 head slap!  I traveled the four hours, each way, to learn some new turning skills and how to turn the all so sexy Baluster leg and arm post, the way Greg turns them.


I was once told if you want to know how to do something, ask a person that does what you want to do.  In adherence to that sage advice I try to take at least one or two classes a year to learn from the experts.  Greg is one of these experts.  Greg received the majority of his training from two people I consider to be the best in the business; Curtis Buchanan and Pete Galbert.  Besides teaching classes in his own shop, Greg assists Pete with his teaching at The Marc Adams School of Woodworking and The Kelly Mehler School of Woodworking.

I have to say that Greg meets all of the qualifications of "All Around Nice Guy".  Like Curtis and Pete, Greg is very giving of his knowledge and information to help his students succeed.  I will be making the trip back to Hendersonville again for another class with Greg.  If you have never seen Greg's work stop by his web site and or his blog and take a look.

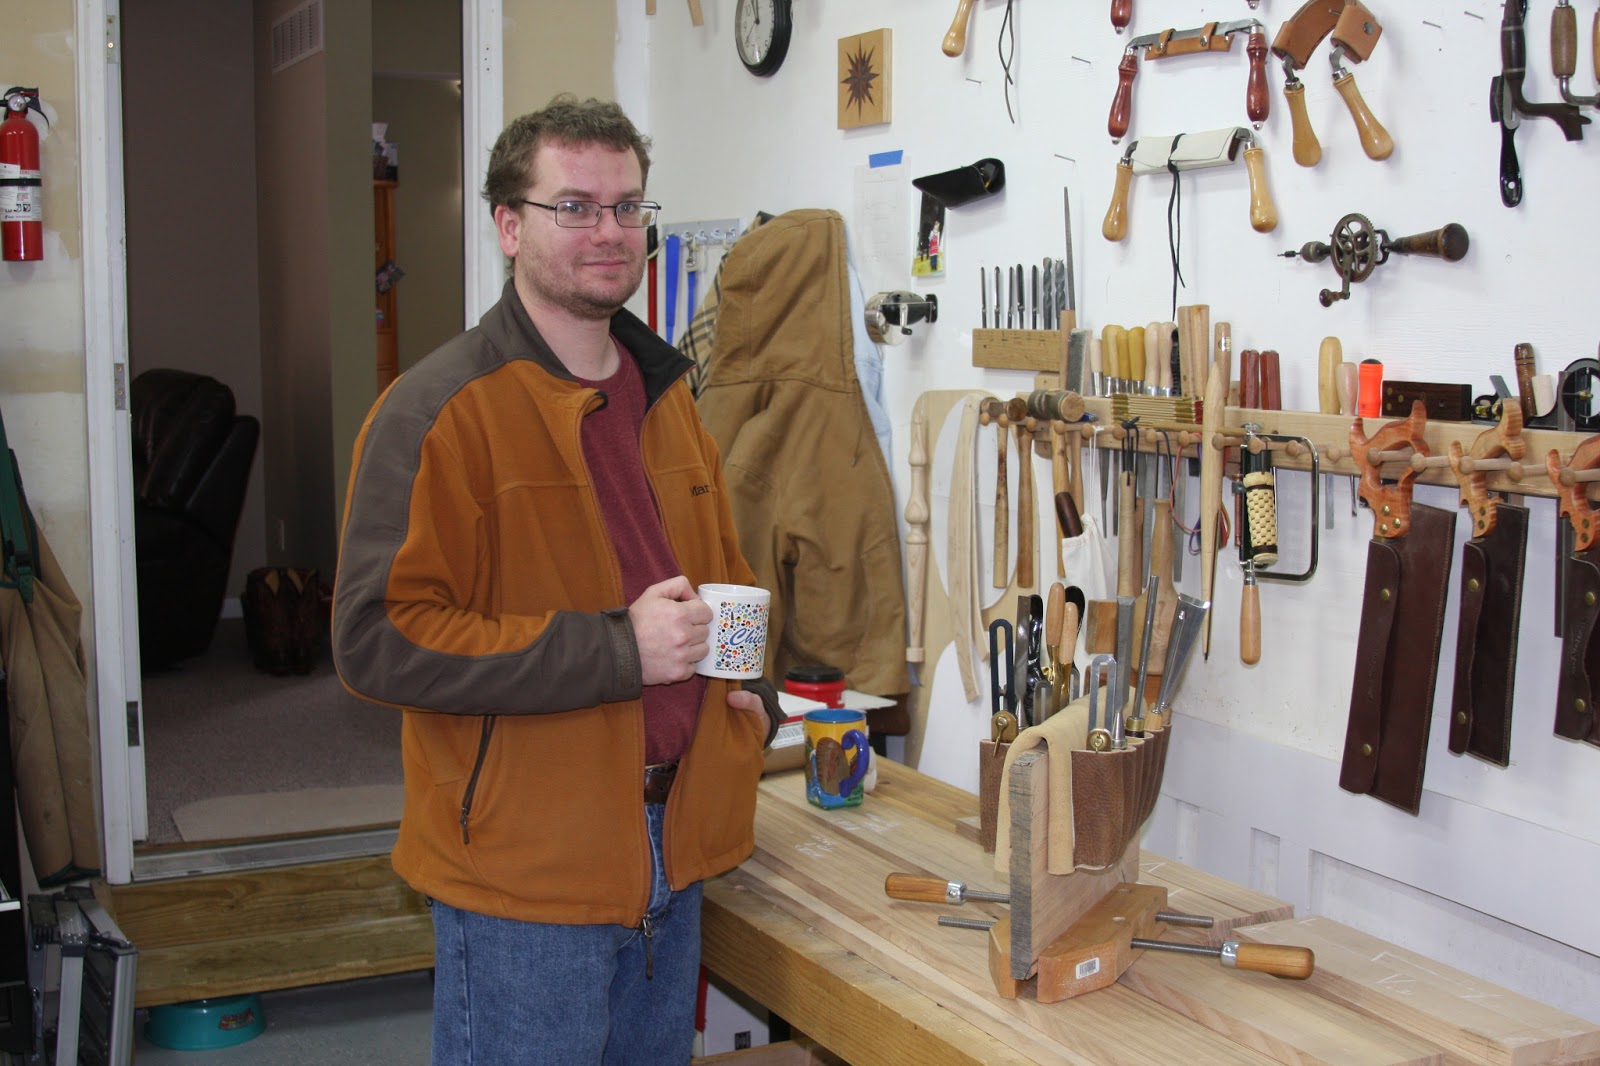
During the day Greg's friend Bill showed up at the shop.  Bill is the gentleman that milled all the timbers and more for Greg's magnificent shop.

 
As for my class with Greg, there were a few skew catches, read soiling my britches, and  a gouge corkscrewing or two.  However, I felt like I was starting to get the feel for it when I had to start thinking about heading home.  After working with Greg until almost 6:00 EST/5:00 CST I headed north.  The 4 hour trek home seemed to go by quickly.  My thoughts were consumed by the images of the warm and welcoming shop and all the great things I had learned.  Thank you Greg and Bill for making this a wonderful experience.


~ Ray Schwanenberger